How to Apply a Splint: Step-by-Step Instructions
- Measure and prepare the splinting material
- Length: Measure out the dry splint on the contralateral extremity
- Width: Slightly greater than the diameter of the limb
- Layers: Use 8-10 layers for upper extremities, 12-15 for lower extremities
Step 1: Apply a Stockinette

Apply the stockinette to extend 10-15cm beyond the splinting material on either end. Use a 3-inch stockinette for upper extremities and 4-inch for lower extremities.
Step 2: Apply Padding
Apply 2–3 layers of padding over the area to be splinted and between digits being splinted. Add an extra 2–3 layers over bony prominences:
- Upper extremity bony prominences: olecranon, radial styloid, ulnar styloid
- Lower extremity bony prominences: patella, fibular head, lateral/medial malleoli, achilles tendon
Step 3: Prepare and Apply Splinting Material
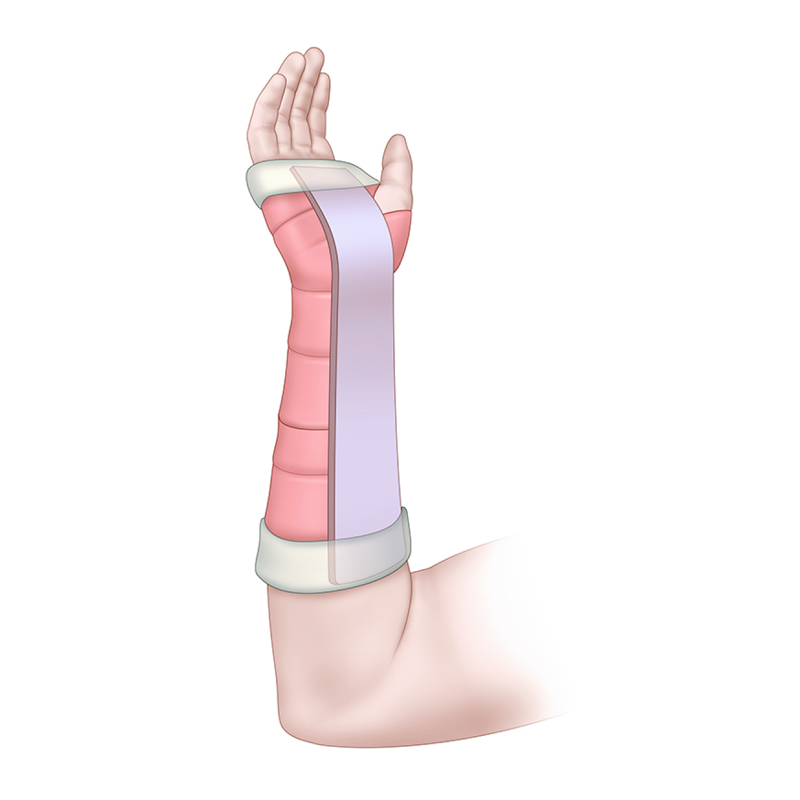
Submerge the plaster in a bucket of room-temperature water. Remove and smooth it between your fingers to remove excess water. Place it and fold the ends of stockinette over the splinting material.
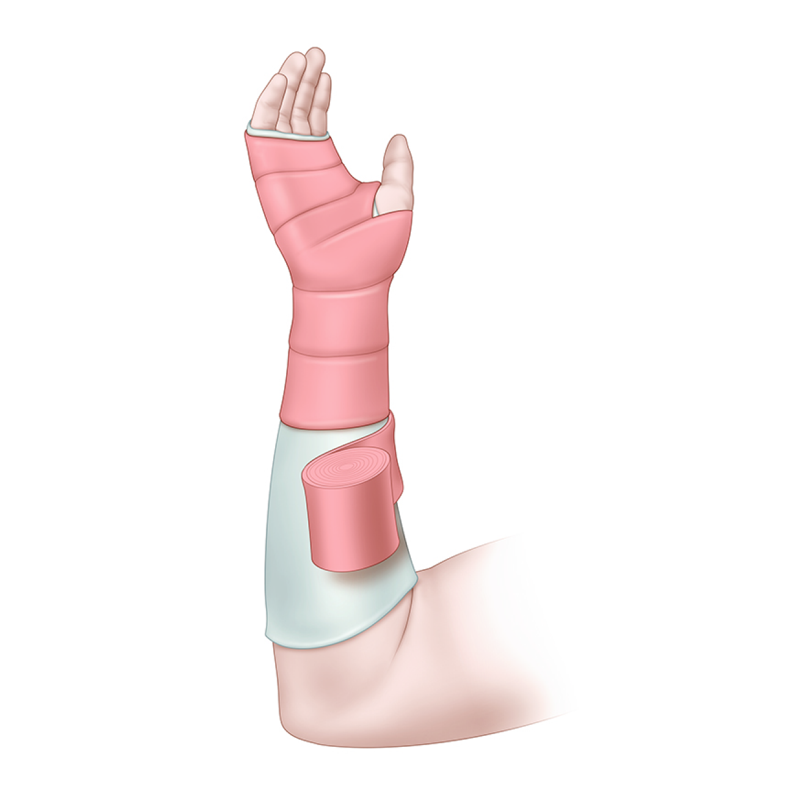
Step 4: Apply Elastic Bandaging

Apply the elastic bandaging moving from distal to proximal.
Step 5: Mold the Splint to the Desired Shape
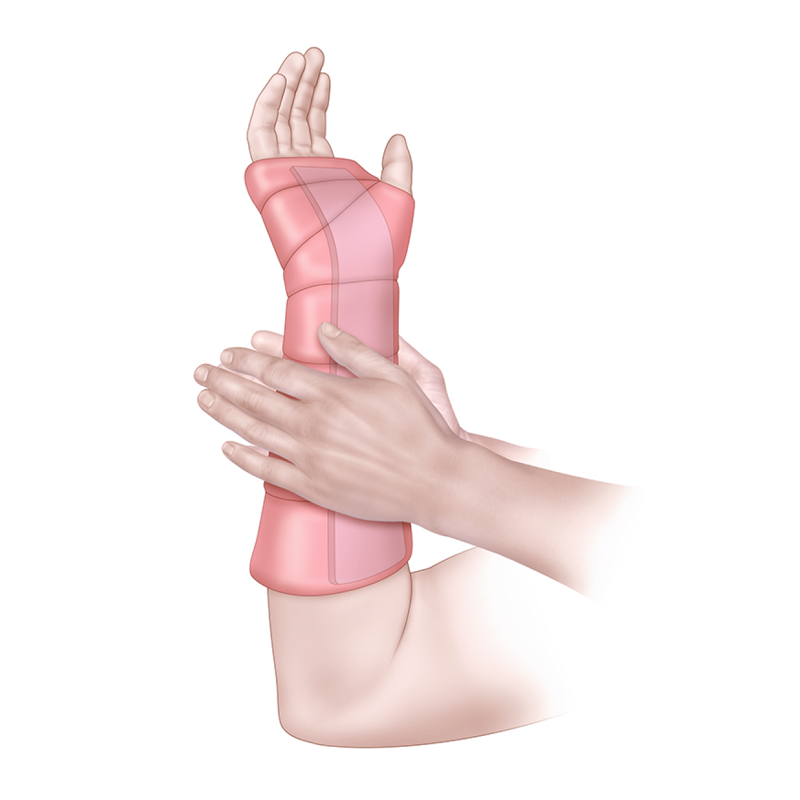
While still wet, use palms to mold the splint to the desired shape.
Step 6: Perform Post-Immobilization Exam
Once hardened, check neruovascular status and motor function.
Illustrations by Matthew Holt (Bodyrender). Used with permission courtesy of EMRA.